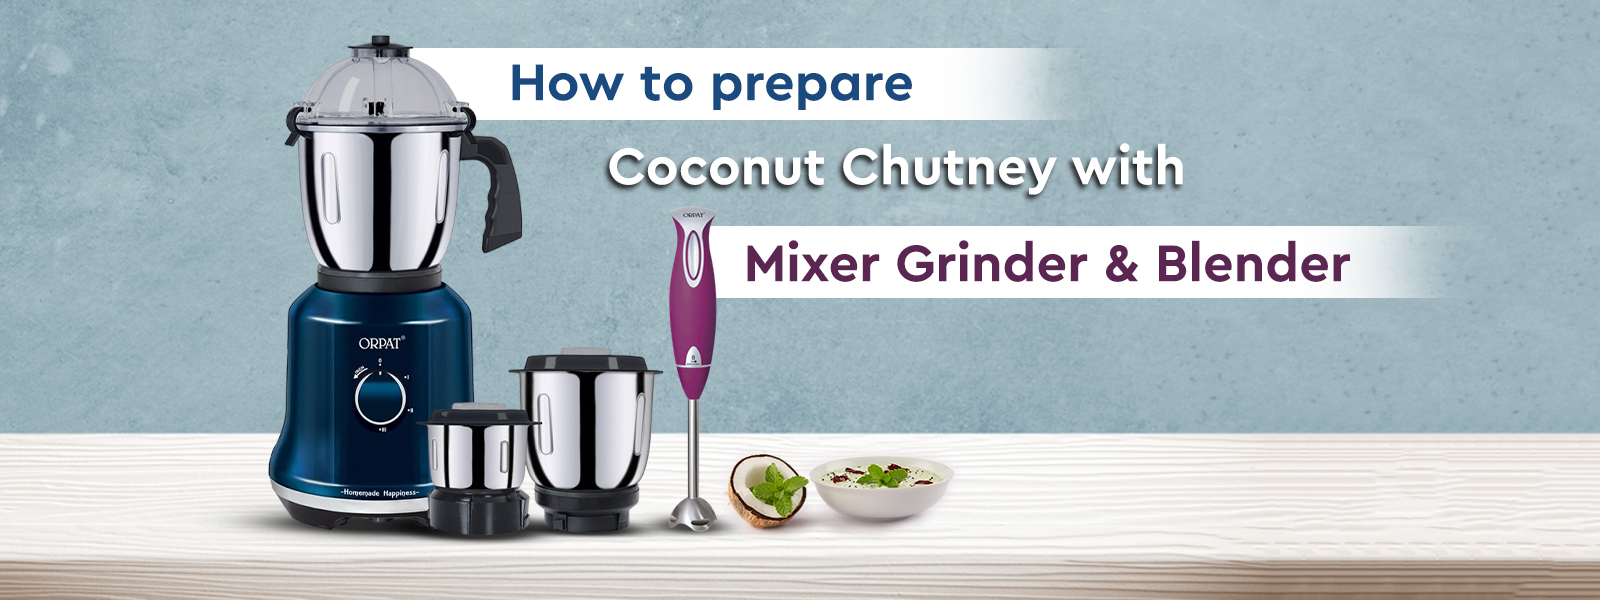
Coconut chutney is an old Indian side dish that goes well with nearly every South Indian meal idlis, dosas, vadas, or even parathas and upma. It’s nice, tangy, and slightly hot taste makes it a staple in every home in the country. But suppose you are looking for how to make coconut chutney at home in your own kitchen using equipment you already have like a mixer grinder or a blender? You’ve come to the right place!
In this blog, we are going to walk you through a quick, step-by-step recipe to create restaurant-style coconut chutney in the comfort of your own home. Whether you’re a novice or someone wanting to up the game of chutneys, you will learn everything you need on how to make a coconut chutney.
Ingredients You’ll Need
Before you begin the step-by-step journey of preparing coconut chutney at home, gather these ingredients:
- Fresh grated coconut – 1 cup (or frozen, thawed coconut)
- Roasted dalia (chana dal) – 2 tbsp
- Green chillies – 1 to 2 (depending on taste)
- Ginger – ½ inch piece (optional)
- Salt – as required
- Water – as required (about ½ to ¾ cup for grinding)
For Tempering (Optional but Recommended):
- Mustard seeds – ½ tsp
- Urad dal – 1 tsp
- Red chilli (dried) – 1
- Curry leaves – 6 to 8
- Oil – 1 tsp
Step-by-Step: How to Prepare Coconut Chutney at Home with Mixer Grinder or Blender
Here’s how to make a coconut chutney at home:
- Get Your Ingredients Ready
Shred a fresh coconut or open a package of frozen shredded coconut and allow it to thaw. If you have a strong mixer grinder, you don’t have to shred it well, just cut it roughly.
- Add Ingredients to the Jar
In your mixer grinder or blender, add:
• 1 cup shredded coconut
• 2 tablespoons roasted chana dal
• 1-2 green chillies
• A small amount of ginger
• Salt as desired
• Approximately ½ cup water
This is the central step to learning how to make a coconut chutney and achieve the right texture. - Blend to a Smooth Paste
Grind everything together until you have a smooth but slightly gritty paste. You may need to stop, scrape sides, and add water in small amounts until you reach the desired consistency. If you use a blender, blend in short bursts so that it won’t overheat.
- Taste and Adjust
Taste the chutney. Add more salt or chilli according to taste. If the chutney is too thick, a splash of water can be used to loosen it.
- Prepare Tempering (Tadka)
– Heat a teaspoon of oil in a small pan.
– Add mustard seeds, and when they splutter, add urad dal, dried red chilli, and curry leaves.
– Sauté for a few seconds till golden brown. Pour this tempering over the chutney.
Follow these simple steps to make a coconut chutney at home to make this delicious accompaniment.
Why is Texture Crucial in Coconut Chutney?
Learning to make coconut chutney involves as much attention to texture as to taste. Some individuals want it coarse, others smooth. A good mixer grinder or blender makes it a cinch to achieve this texture. The grinding duration, speed, and water amount influence the final texture of your chutney. For soft dosas and idlis, a chutney that is smooth serves the softness of the dish well. For crunchy parathas or vadas, a coarser chutney will provide a good contrasting texture. Feel free to modify the texture according to what you are serving it with. This flexibility in making your chutney to the desired consistency in a mixer grinder or blender is one of the greatest benefits of making it at home with modern technology.
Tips on Using Mixer Grinder and Blender Efficiently
If you are a novice in using a mixer grinder or blender for wet grinding, keep these tips in mind on how to make coconut chutney perfectly:
- Make use of the smallest jar for making chutneys; it gives a tighter control over consistency.
- For crispy vadas or parathas, a slightly grainy chutney may add a nice contrast.
- Don’t hesitate to adjust the texture based on what you’re serving it with.
- This ability to customise your chutney’s consistency is one of the biggest advantages of preparing it at home with modern appliances like mixer grinder.
Tips for Effective Use of Mixer Grinder and Blender
If you are new to using a mixer grinder or blender for wet grinding, follow these tips:
- Use the smallest jar for chutneys; it provides a finer control over consistency.
- Pulse first, and then blend, particularly if the jar is full.
- Always add liquid in batches to not over-thin.
- If the chutney is too thin, add a small amount of roasted chana dal or coconut and blend again.
These appliances make it a lot simpler to grasp how to make coconut chutney from home without the traditional grinding stone!
Variations You Can Try
Once you learn to prepare this coconut chutney, the possibilities for variations are limitless:
- Mint Coconut Chutney: Add a bunch of fresh mint leaves for a cooling touch.
- Coriander Coconut Chutney: Incorporate fresh coriander leaves for extra aroma.
- Red Coconut Chutney: Replace green chillies with dry red chillies for a spicier, darker flavor.
- Tamarind Coconut Chutney: Mix in a small piece of tamarind for tanginess.
Every variation is the same basic process with a mixer grinder or blender; you simply adjust the ingredients to your taste.
Also Read: How to Make Juice
It is easy to learn how to make coconut chutney at home, and once you get the basics right, you can play around with other spices, herbs, and flavor to suit your courses and taste buds. A quality Mixer Grinder or Blender from a reputable brand such as Orpat can make the process of preparing your chutney smooth, convenient, and hassle-free.
Whether you’re making an instant breakfast or a fancy meal, coconut chutney provides that much-needed zing on your plate. Be it smooth consistency or flavors, now you’ve got the right idea of how to make coconut chutney in no time and with simple steps.
Frequently Asked Questions
Yes, but with a different taste and texture. Soak dried coconut in warm water for 10–15 minutes and grind to make it softer in texture.
Fresh coconut chutney is good for 1–2 days when refrigerated. To store for longer, do not include tempering until serving.
Yes, freeze it in air-tight containers for a week. Thaw and mix well before serving. Add tempering after thawing for freshness.
Chutney may become bitter if the coconut isn’t fresh. Make sure to use only fresh coconut and avoid burning the tempering spices.
Yes, you may replace it with peanuts or omit it for a light version. But chana dal provides body and richness to the chutney.