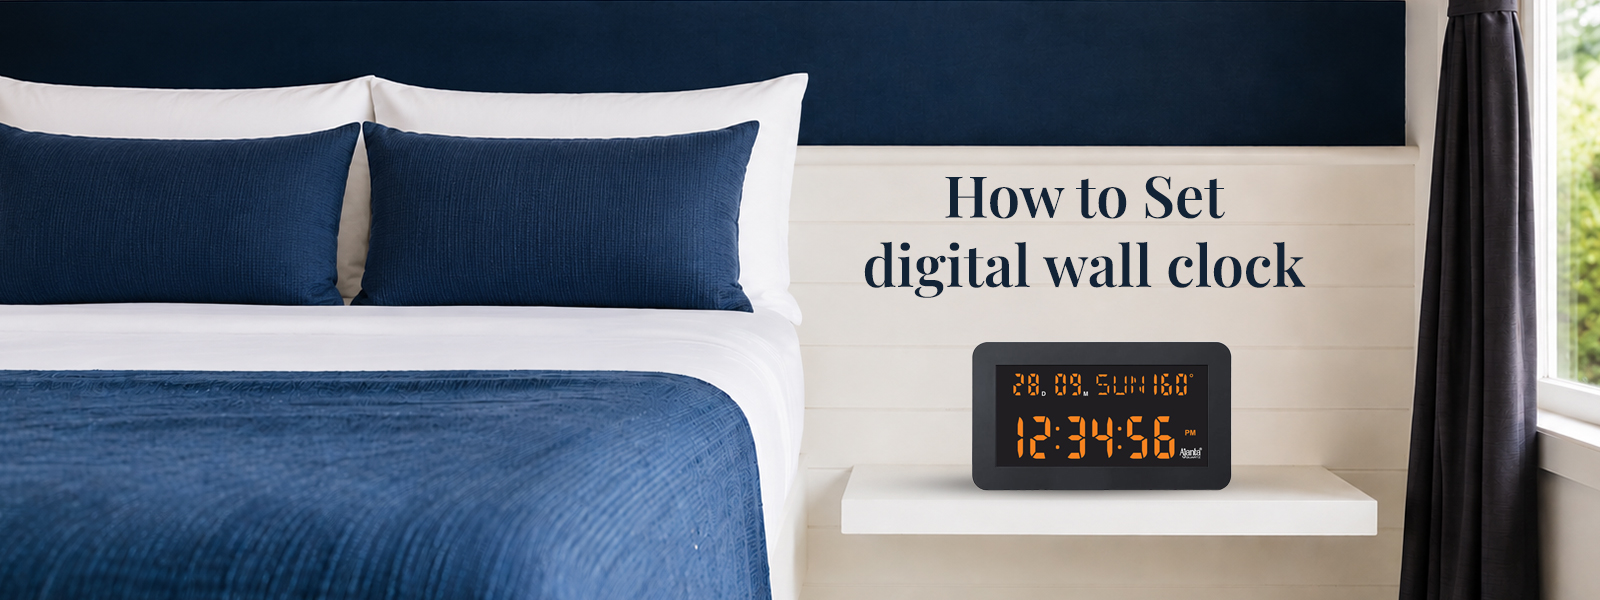
The practical features, aesthetically pleasing forms, and readily readable screens of digital clocks have rapidly made them an indispensable component of modern homes. An excellent and precise addition to any home’s interior design, including bedrooms, offices, kitchens, and living spaces, is a digital wall clock. It is common for individuals to find the process of setting up a digital timepiece to be somewhat perplexing during their initial experience. Although each model may have slightly different controls, an understanding of the fundamentals will facilitate their operation.
Discover the method for installing and maintaining a new digital wall clock in this article, and subsequently obtain recommendations for the most appropriate model for your home.
Understand the Basic Buttons
A few fundamental buttons are present on the majority of digital clocks, which enable users to modify a diverse array of settings. Although styles may differ, the following are some of the most frequently encountered buttons:
- Mode
- Set
- Alarm
- Up
- Down
- Reset
Some clocks come with touch-sensitive screens or remote controls to make them more convenient. Before starting the setup process, it is essential to review the setup instructions in their totality. The objective is to acquaint the homeowner with the model’s button layout and any potential features. In the modern world, digital wall clocks are designed to be user friendly and understandable by individuals of all ages.
Insert Batteries or Connect Power
The first thing is to get the clock right. Depending on the model, the watch ticks differently.
- Operate entirely on batteries
- Use a direct electric connection
- Include both power and battery backup
Ensure that the batteries are installed in accordance with the instructions provided on the battery. Most clocks feature glowing digits to signal that the time is prepared for setting when they are powered on.
How to Set the Time
The details vary a bit, but most clocks work on the same principle.
Step 1: Press the Set Button
Press and hold the “Set” or “Mode” button for a few seconds until the numbers of the hours start to flash.
Step 2: Adjust the Hour
Use the “Up” and “Down” buttons to set the hour value.
Step 3: Set the Minutes
Hit the “Set” button again to go to the granular options. To adjust the time use the buttons on the control panel.
Step 4: Confirm the Time
Press “Set” again or let the clock a few seconds for it to remember your settings.
This is a strategy that is used by many of the best digital wall clock models on the market today.
Switching Between 12-Hour and 24-Hour Format
Digital clocks can be set in both:
- 12-hour format (AM/PM)
- 24-hour format
Most users set this by holding down the “Mode” button or pressing a format button. A digital wall clock with flexibility allows the user to alter the time display according to his or her liking.
Setting Date and Day Display
Also, modern clocks show:
Several modern clocks also show:
- Date
- Month
- Day of the week
- Temperature
To set these:
- Enter setting mode
- Navigate through options using the “Set” button
- Adjust values using “Up” and “Down” buttons
It is probable that confusion will arise in the future if this is not accomplished. As a result, it is essential to select an appropriate format for the month and date.
Adjusting Brightness Settings
Typically, it is feasible to modify the luminance of an LED clock. This alternative can enhance one’s visibility during the day and reduce it in the nighttime. There are models that provide the user with:
- Manual brightness adjustment
- Automatic dimming sensors
- Night mode settings
- Dimmer lighting is better for bedrooms and other sleeping areas.
To be regarded as the best digital wall clock, it needs to be easy to read and also look good.
Setting Alarm Functions
The alarm function on your clock can be easily set by following these steps:
- Press the “Alarm” button
- Hold the button until alarm time flashes
- Adjust hours and minutes
- Save the settings
For offices, study rooms or households with lots of alarms, there are convenient clocks. Alarm-enabled digital wall clock types are becoming more and more popular since they offer several functions in one handy unit.
Proper Placement of the Clock
The right placement will improve both legibility and appearance. The best size for a clock is:
- Mounted at eye level
- Clearly visible from across the room
- Away from direct sunlight
- Protected from moisture and heat
Keep clocks away from strong electrical appliances as they may sometimes create performance problems. Today, trendy sleek and decorative clocks are available and look wonderful in modern homes. Digital clocks from manufacturers such as Orpat are great for modern residences as they are helpful and look good as well.
- Tips to Maintain Your Digital Clock – Proper maintenance will improve the life and efficiency of your clock.
- Clean the Display Regularly – Over time, dust might collect on the screen and obscure the display.
- Replacing batteries on Time – Power source shortage may affect the reliability and visibility.
- Avoid Water Exposure – Do not expose digital clocks to excessive degrees of wetness.
- Handle Carefully During Installation – If the clock is incorrectly mounted, the clock could be unstable or damaged.
A digital wall clock should last many years with no problems if it is serviced regularly.
Choosing the Right Digital Clock
Some things to consider before purchasing a clock:
- Display size
- Brightness levels
- Power backup
- Design compatibility
- Additional features
Once familiar with the features and settings, digital wall clock configuration is often simple. Many clocks today have alarms, calendars, and time and luminosity adjustments to simplify daily use. Orpat digital wall clocks are easy to use, reliable, and have helpful capabilities. The timing is unparalleled. A good clock may improve a bedroom, office, or living room. Properly installed and maintained digital wall clocks offer flair and usefulness to any area.
FAQs
To change the time, hold the “Set” button. Use the control buttons to set the hour and minute, then confirm the changes.
Most digital clocks do offer the choice of switching between the two styles of display.
A time adjustment or new batteries are necessary if the clock begins to flicker.
Yes, especially those that can be adjusted for brightness softly.
Look for a long-lasting design, adjustable brightness, battery backup, alarm function and a clean screen.